3. Building a Simple Wooden Doormat
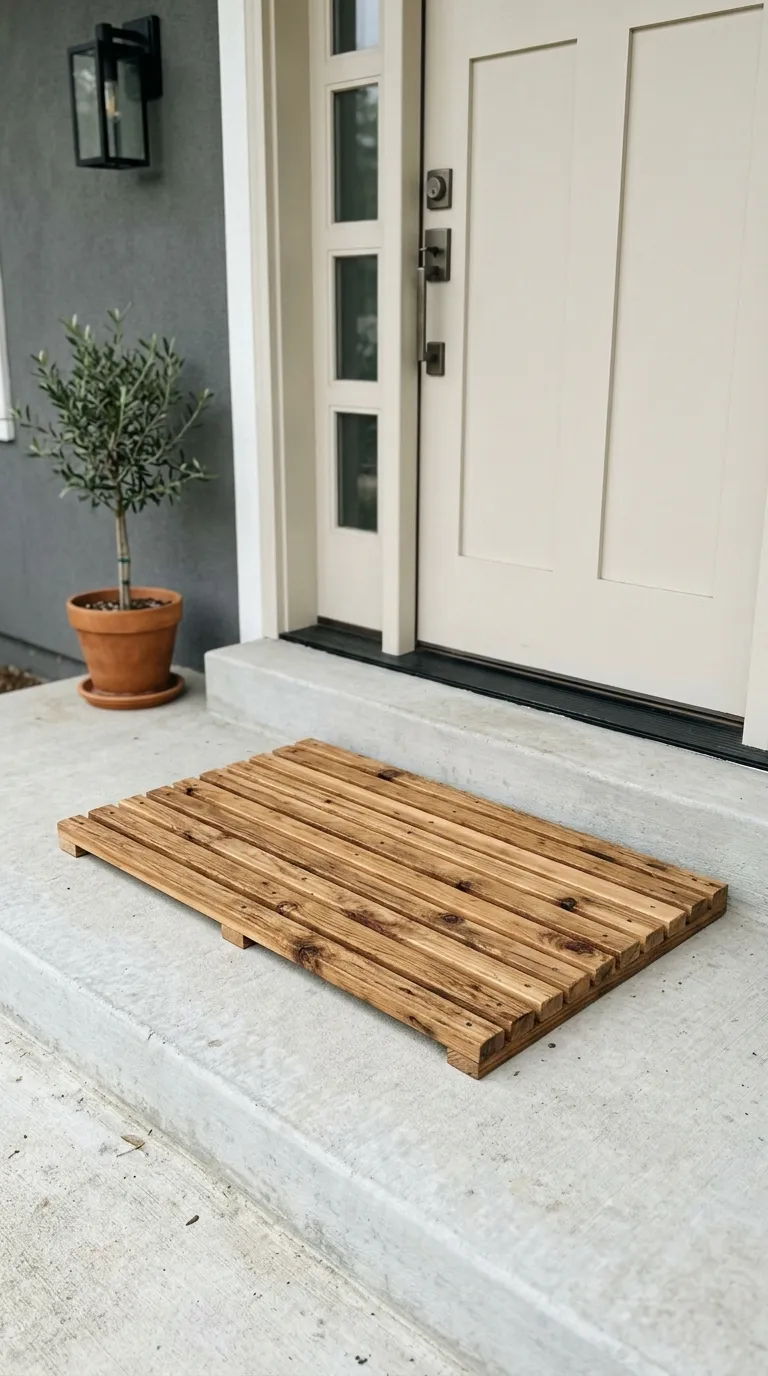
Store-bought doormats are convenient, but a custom-built wooden slatted doormat brings custom craftsmanship and rustic warmth to your front stoop. This beginner woodworking project requires only a few inexpensive cedar or pine boards, exterior wood screws, and a basic saw or even pre-cut lumber from your local home improvement center. Cedar is an exceptional material choice for outdoor projects because it naturally resists moisture, rot, and insect damage without requiring heavy chemical treatments. To build a standard rectangular mat, cut your thicker base support slats to length, and then cut your top surface slats, leaving small, uniform gaps between each board. These gaps are crucial because they allow water, dirt, and debris to fall through the mat rather than pooling on top and rotting your wood or staining your concrete. Sand all the cut edges thoroughly to prevent splinters. Assemble the mat by screwing through the top slats directly into the under-support pieces using corrosion-resistant exterior deck screws. Pre-drill your screw holes to prevent the wood from splitting, especially near the ends of the boards. Finish your finished creation with a coat of transparent exterior wood sealer, tinted wood stain, or a fun geometric painted design using outdoor patio paint. Once dry, place your new handcrafted doormat in front of the door for an instant rustic greeting that welcomes family and guests.