6. Upgrading Porch Light Fixtures
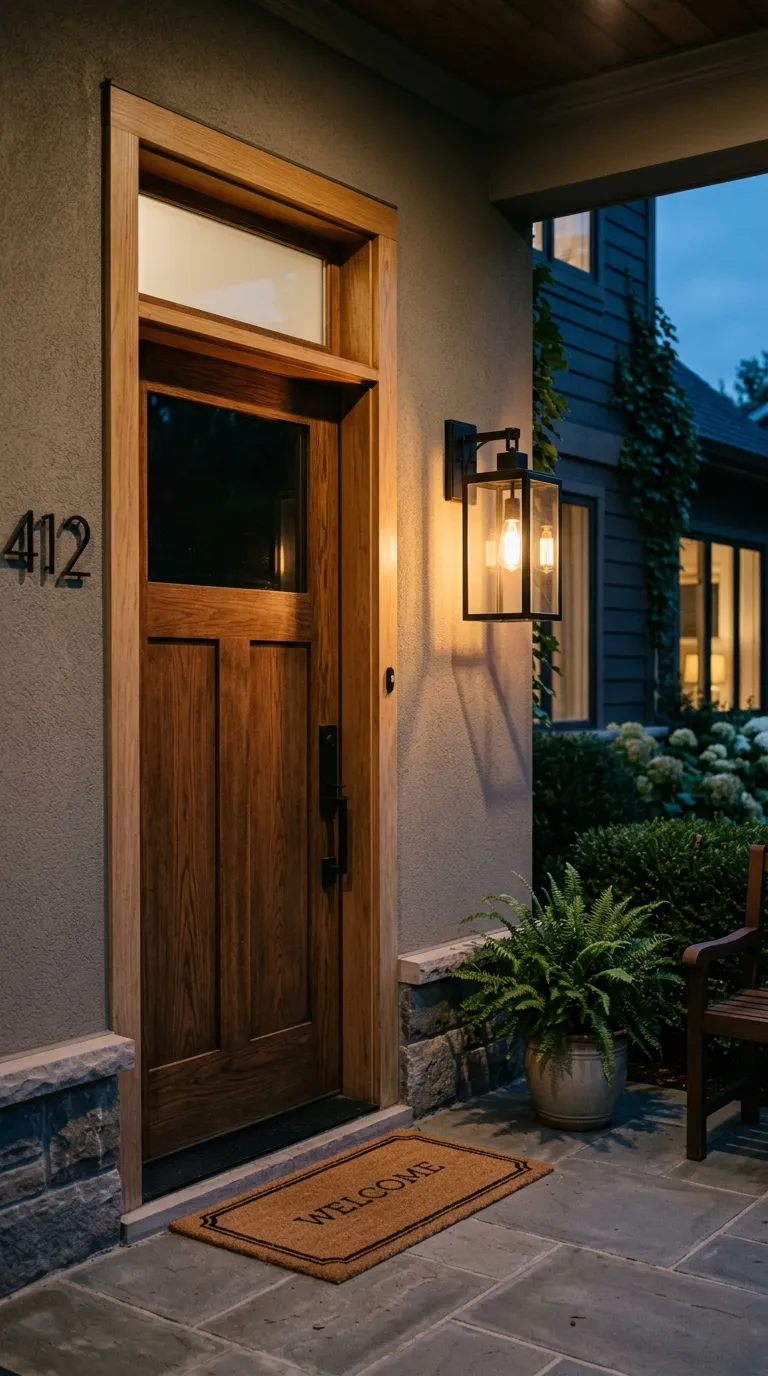
Builder-grade porch lights are often generic, uninspiring, and prone to tarnishing or rusting over time. Swapping out your outdated exterior light fixture for a stylish new model is a surprisingly straightforward DIY project that instantly upgrades your home exterior. Before beginning any electrical work, always turn off the power to the porch light at your main circuit breaker box to ensure complete safety. Use a non-contact voltage tester to double-check that no electrical current is running through the wires. Unscrew the mounting screws of your old fixture, gently pull the unit away from the wall, and disconnect the wire nuts connecting the house wires to the fixture wires. Most standard exterior light fixtures feature three simple wires: black for hot, white for neutral, and green or bare copper for ground. Match the corresponding wires of your stunning new light fixture to your home wires, secure them tightly with wire nuts, and wrap them with electrical tape for extra security. Carefully tuck the wires back into the electrical box, align the mounting bracket of your new fixture, and secure it firmly to the wall. Install your lightbulbs—consider energy-efficient LED Edison bulbs for a charming vintage aesthetic—and turn the circuit breaker back on. A new statement light fixture acts like jewelry for your home, providing both functional illumination and striking daytime curb appeal.