8. Repurposed Wooden Crate Wall Storage
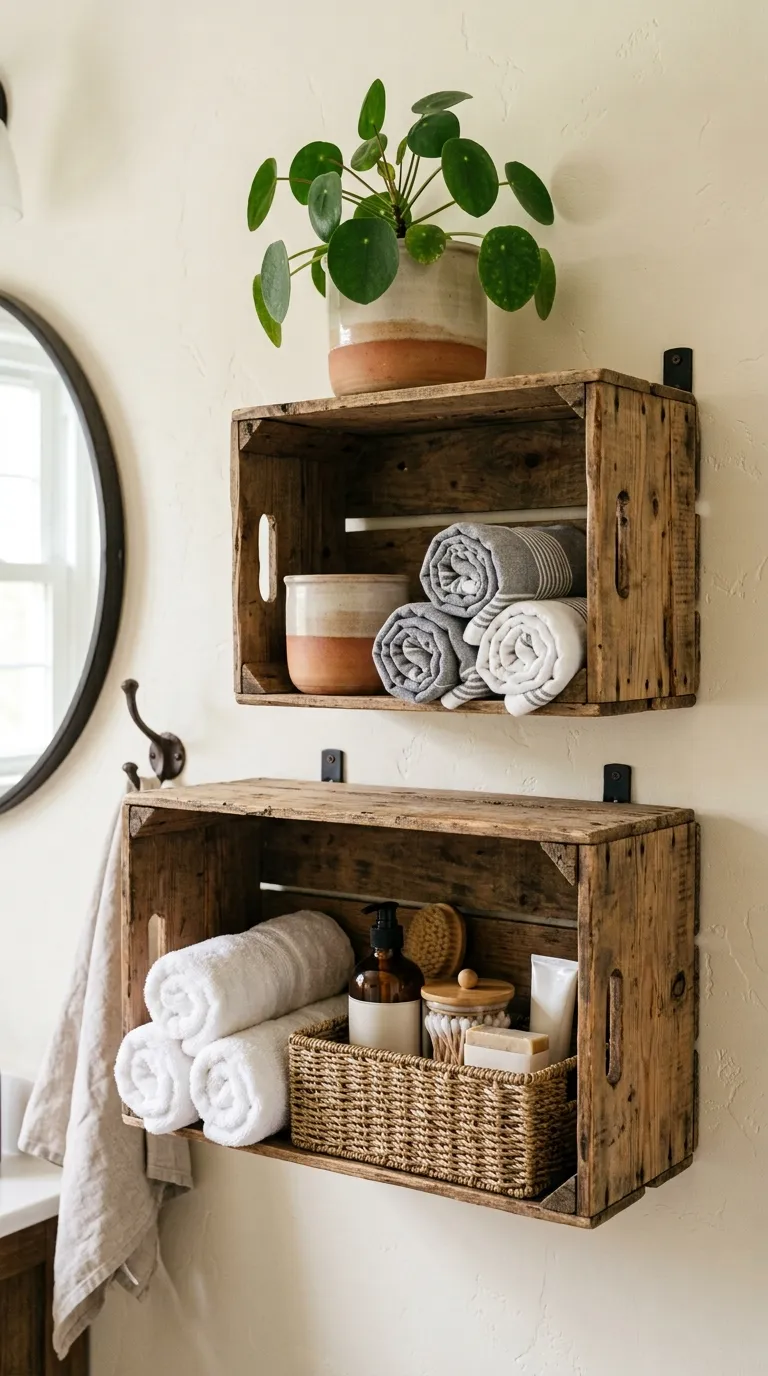
Wooden crates have a rustic, farmhouse charm that works beautifully in a bathroom with a more relaxed, lived-in aesthetic. Mounted on the wall, they become open shelves with a sense of history and character. You can find vintage crates at flea markets and antique shops, or you can buy new ones made from reclaimed wood for a similar feel.
For this project, you’ll need two or three wooden crates, wood screws, wall anchors, a drill, a level, and optionally some wood stain or whitewash. Decide on the arrangement before you start drilling. Common layouts include a stacked vertical column, a horizontal row, or a staggered pattern that adds visual movement.
Sand the crates lightly to remove any rough splinters, then finish them however you like. A clear matte sealant protects the wood from bathroom humidity, while a coat of chalk paint gives a softer, coastal vibe. Let the finish dry completely before mounting.
Attach wall-mounting brackets to the back of each crate, then secure the crates to the wall through the brackets. Always anchor into studs when possible, or use heavy-duty wall anchors rated for at least twenty pounds. This project takes about three to four hours from start to finish and costs around forty to sixty dollars if you’re buying new crates.
Style the crates with rolled washcloths, a small stack of books, a potted plant, or a basket of toiletries. Because the crates have slatted sides, you can also use S-hooks to hang small items from the openings. The open design means everything is visible and accessible, which is a big bonus in a small bathroom where digging through closed cabinets can feel frustrating.
A common mistake is using crates that are too deep. Aim for crates that are no more than five or six inches deep so they don’t protrude too far into the room. Also, make sure the brackets you use are rated for the weight you plan to store. Heavy ceramic jars or stacks of books require stronger hardware than a few light towels.